Fitting stair nosings is well within reach of a confident DIYer, and getting it right protects the leading edge of every tread for years. Here is how we recommend doing it, from measuring up to the final finish.
What you will need
- Your stair nosings, cut to length
- A fine-tooth saw or mitre saw for any trimming
- A good-quality grab adhesive (and pins or masking tape to hold while it cures)
- Tape measure, pencil and a set square
- A damp cloth to wipe away excess adhesive
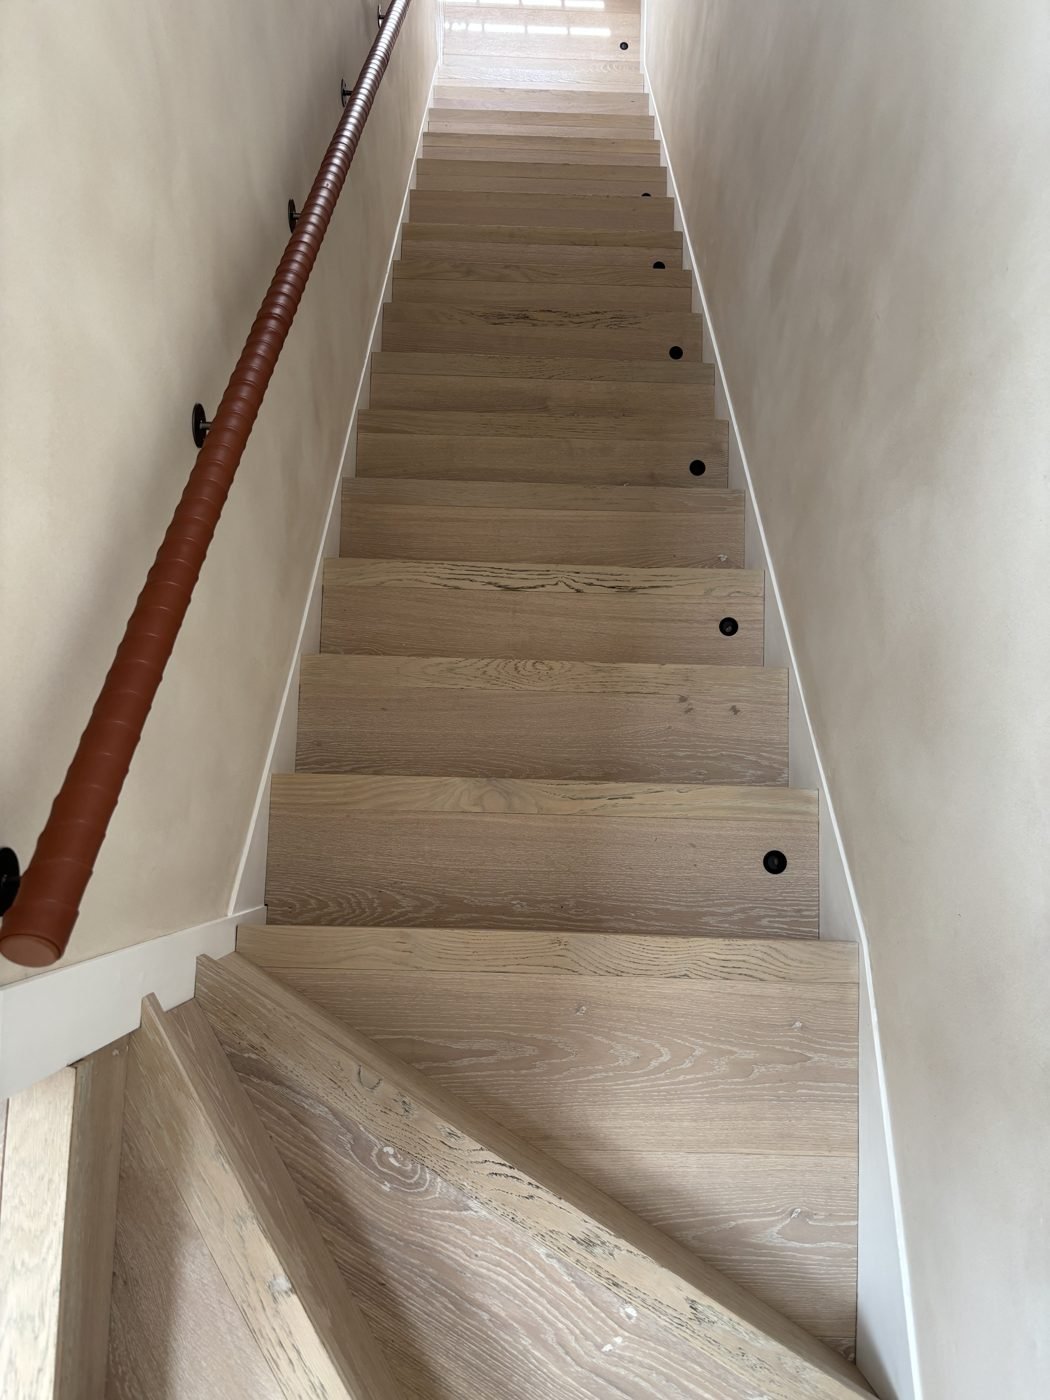
Step by step
Measure each tread
Measure the width of every tread individually — older stairs are rarely identical. Order nosings cut to length, or trim to fit with a fine-tooth saw.
Dry-fit first
Sit each nosing in place without adhesive to check the fit and overhang. The nosing should sit flush to the tread with the bullnose or square edge proud of the riser.
Prepare the surface
Make sure the tread is clean, dry and free of dust or old adhesive. A sound, flat surface gives the strongest bond.
Apply adhesive
Run a zig-zag bead of grab adhesive along the underside of the nosing, press it firmly into position and wipe away any squeeze-out straight away.
Hold while it cures
Hold the nosing down with masking tape, weights or a couple of fine pins until the adhesive sets — follow the adhesive manufacturer’s curing time before use.
Finish the edge
If you have chosen an unfinished nosing, sand lightly and apply your chosen finish once fixed. Colour-matched nosings arrive ready to fit.
Tips for a professional finish
- Work from the bottom step up so any dust falls away from finished treads
- Keep a consistent overhang on every step for a clean, uniform look
- Add a non-slip insert where grip matters — see our guide below
- If in doubt about structural stairs or regulations, consult a competent fitter
Our stair nosings are made to order, cut to your lengths and matched to your floor, so most of the hard measuring work is done before anything reaches your door.